Designing a Rugged 12V Battery Pack for Trail Cameras


A smarter 12V power pack for the field.
Project: 12v Trail Camera Battery
Disciplines: Industrial Design
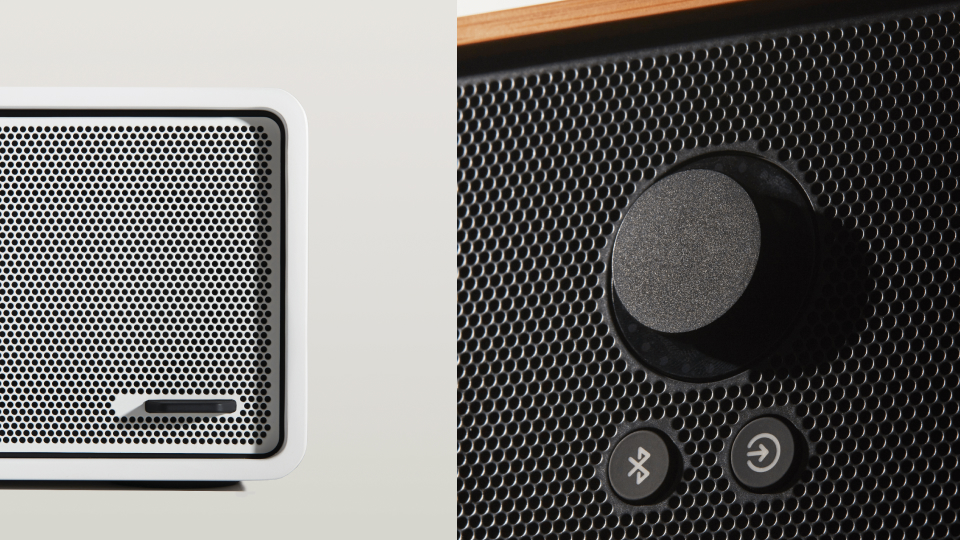
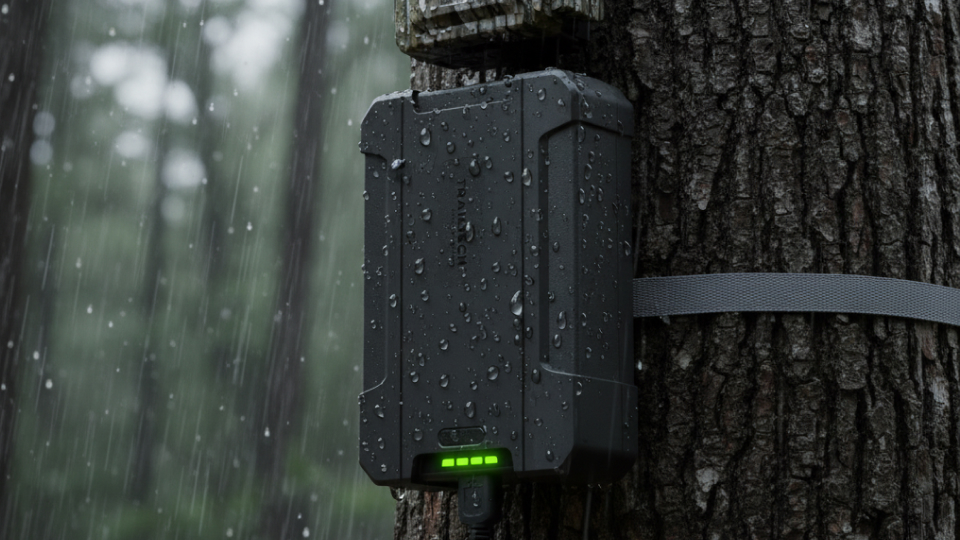
TrailTech’s 12V Battery Pack was designed to power trail cameras through the harshest outdoor conditions. Built around high-capacity LiFePO4 cells, it delivers long-term reliability in a compact, fully sealed enclosure. Every detail, from the compression seal to the mounting system, was engineered to simplify field use and protect against the elements. The result is a rugged yet refined design that redefines what dependable outdoor power looks like.
Understanding the user Journey
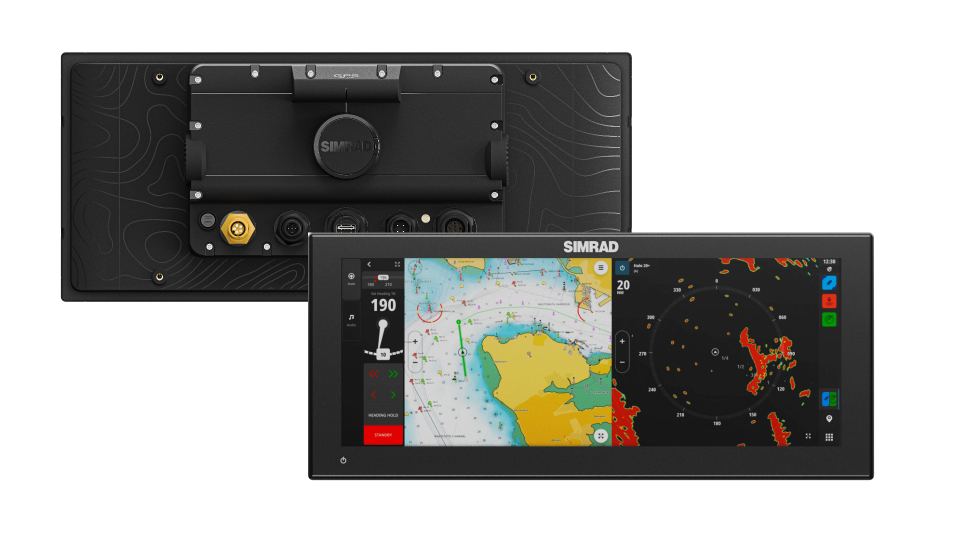
The project began by mapping how people actually use and maintain trail cameras in the field. Through this, we identified pain points like unreliable connectors, bulky housings, poor weather sealing, and unclear charge feedback.
These insights shaped a clear goal: create a compact, weatherproof 12V power pack that simplifies setup and delivers long-lasting performance outdoors.
Research & Specification
I reviewed a range of existing field batteries and outdoor power systems, tearing down competitor products to understand how they were built and where they failed. Insights from this benchmarking informed a clear product vision focused on durability, weather resistance, and ease of use.
From there, I defined a set of technical and functional requirements, mapping out materials, sealing methods, and component layout. This became the foundation for the project’s construction strategy and design direction.
Concept Exploration
Using AI-assisted visual exploration, I generated a range of early design directions to define the geometry and visual language of the product. This approach sped up ideation, allowing quick exploration of form, proportion, and surface balance before locking in a direction.
Once a clear aesthetic was chosen, our focus then shifted toward the sketching out the functional details that would make the design practical and durable in the field.
Detailed CAD Design
Once the form direction was set, we moved into detailed CAD development. It’s important not to enter this stage too early, as refining the geometry first saves significant time later.
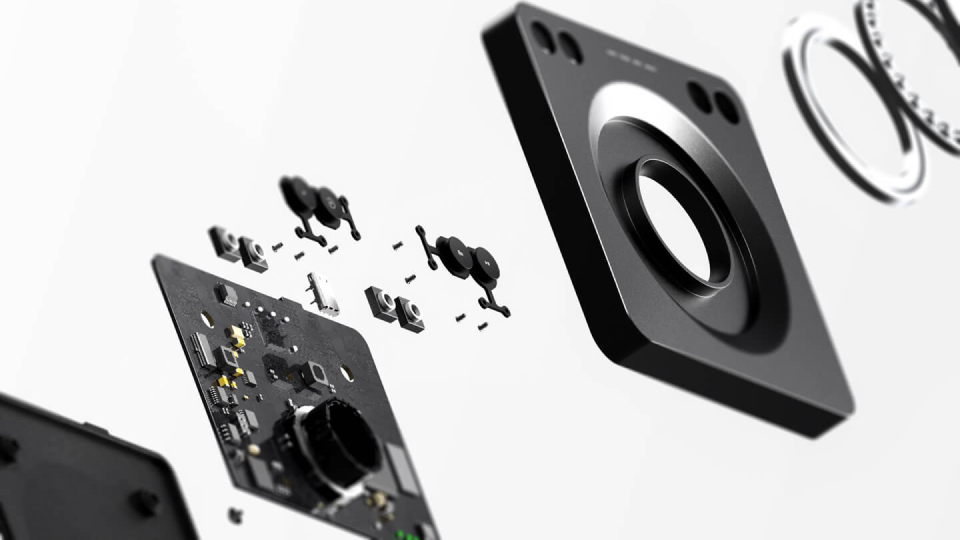
This phase focused on defining the enclosure construction, exploring overmoulded sealing opportunities, and optimising internal layouts for the battery and PCB. Structural analysis guided the ribbing layout, wall thickness, and screw boss design to balance strength and material efficiency.
Design for Manufacture was built into every step, from draft angles and split lines to parting surfaces and fastener selection. Tooling considerations and cost analysis helped refine details like corner radii, seal compression geometry, and overmould placement, ensuring a durable and cost-effective production path.
Prototyping and Testing
Full-scale 3D prints were produced to test ergonomics, assembly, and overall proportions. These early prototypes provided quick feedback on hand feel, screw alignment, and part tolerance. The printed parts also helped validate the ribbing structure and enclosure stiffness, confirming that the CAD work translated into a solid, durable form. Testing fit and alignment at this stage ensured a smoother transition into tooling later on.
Client Handoff
The final phase involved creating a full technical specification package for supplier handoff. This included detailed 3D CAD assemblies, 2D drawings, material callouts, and PCB integration layouts, as well as documentation for sealing, fasteners, and overmoulding.
Each component was defined for manufacture and assembly, ready for supplier quoting and tooling evaluation. This ensured the design could move smoothly into production while maintaining performance, quality, and cost targets.